In PowerClicker, a sequence of actions such as screen taps and gestures is called a Scenario.
This page explains how to create a new scenario and edit an existing one.
Creating a New Scenario
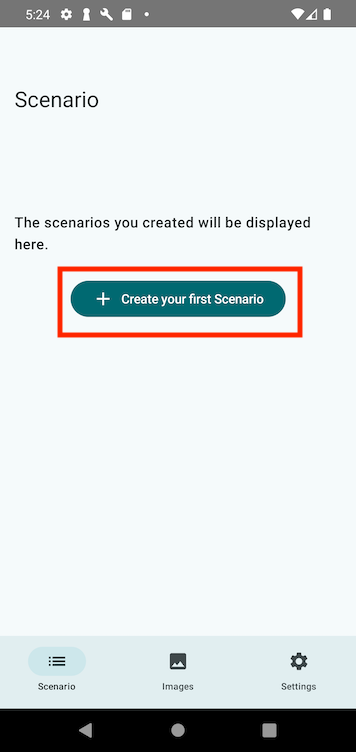
To create your first scenario, tap “Create your first Scenario” on the Scenario List screen.
After entering a name for the scenario, tap OK to create it. The newly created scenario will automatically become active.
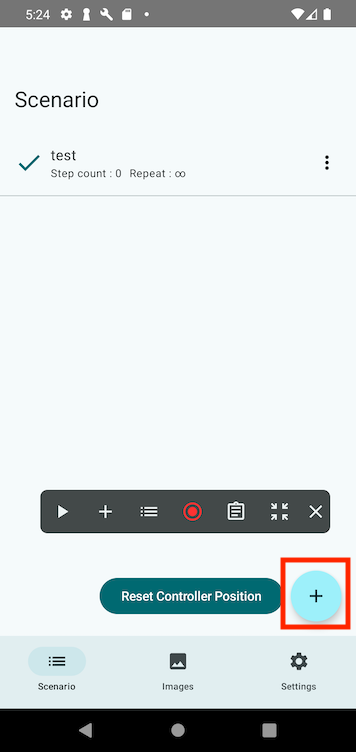
To create additional scenarios, tap the + button at the bottom right of the Scenario List screen.
Switching the Active Scenario
You can switch the active scenario by tapping a non-active scenario in the Scenario List screen. Any step additions, edits, or scenario playback will be applied to the active scenario. Tapping an active scenario will open the Step List screen.
Reordering Scenarios
You can change the order of scenarios by long-pressing and dragging them in the Scenario List.
Resetting the Controller Position
Tapping the “Reset Controller Position” button at the bottom of the Scenario List will restore the Scenario Controller to its default position.
Exporting, Importing, and Sharing Scenarios
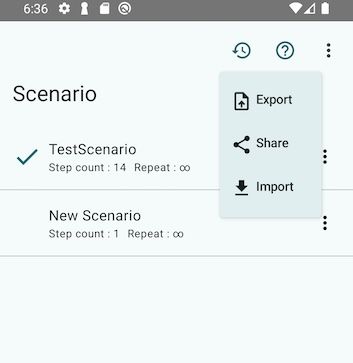
You can export, import, or share scenarios by tapping the three-dot icon in the top-right corner of the scenario list.
For more details, please refer to each dedicated page.
Scenario Options
Tapping the three-dot menu on the right side of a scenario opens a pop-up menu with various options.
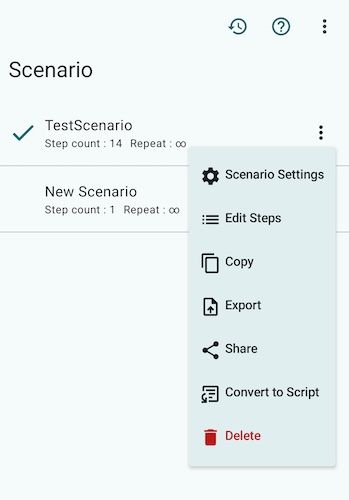
Scenario Settings
You can rename the scenario and set the repeat count for scenario playback.
Edit Steps
Modify the steps within the scenario.
Copy
Duplicate the scenario to create a new one.
Export
You can export scenarios as files.
Share
You can share scenarios with others.
Convert to Script
Convert the scenario into a Script Scenario.
Delete
Delete the scenario.